
Android Remote Push notification
1. Điều kiện tiên quyết
- Tài khoản Google Play của công ty
- Tài khoản Firebase của công ty
- Được assign vào repo
- Macos - Linux
- Android Studio
2. Đối tượng đọc
- Stage Owner
- Customer Success Engineer
- Customer Success Specialist
3. Nội dung chi tiết
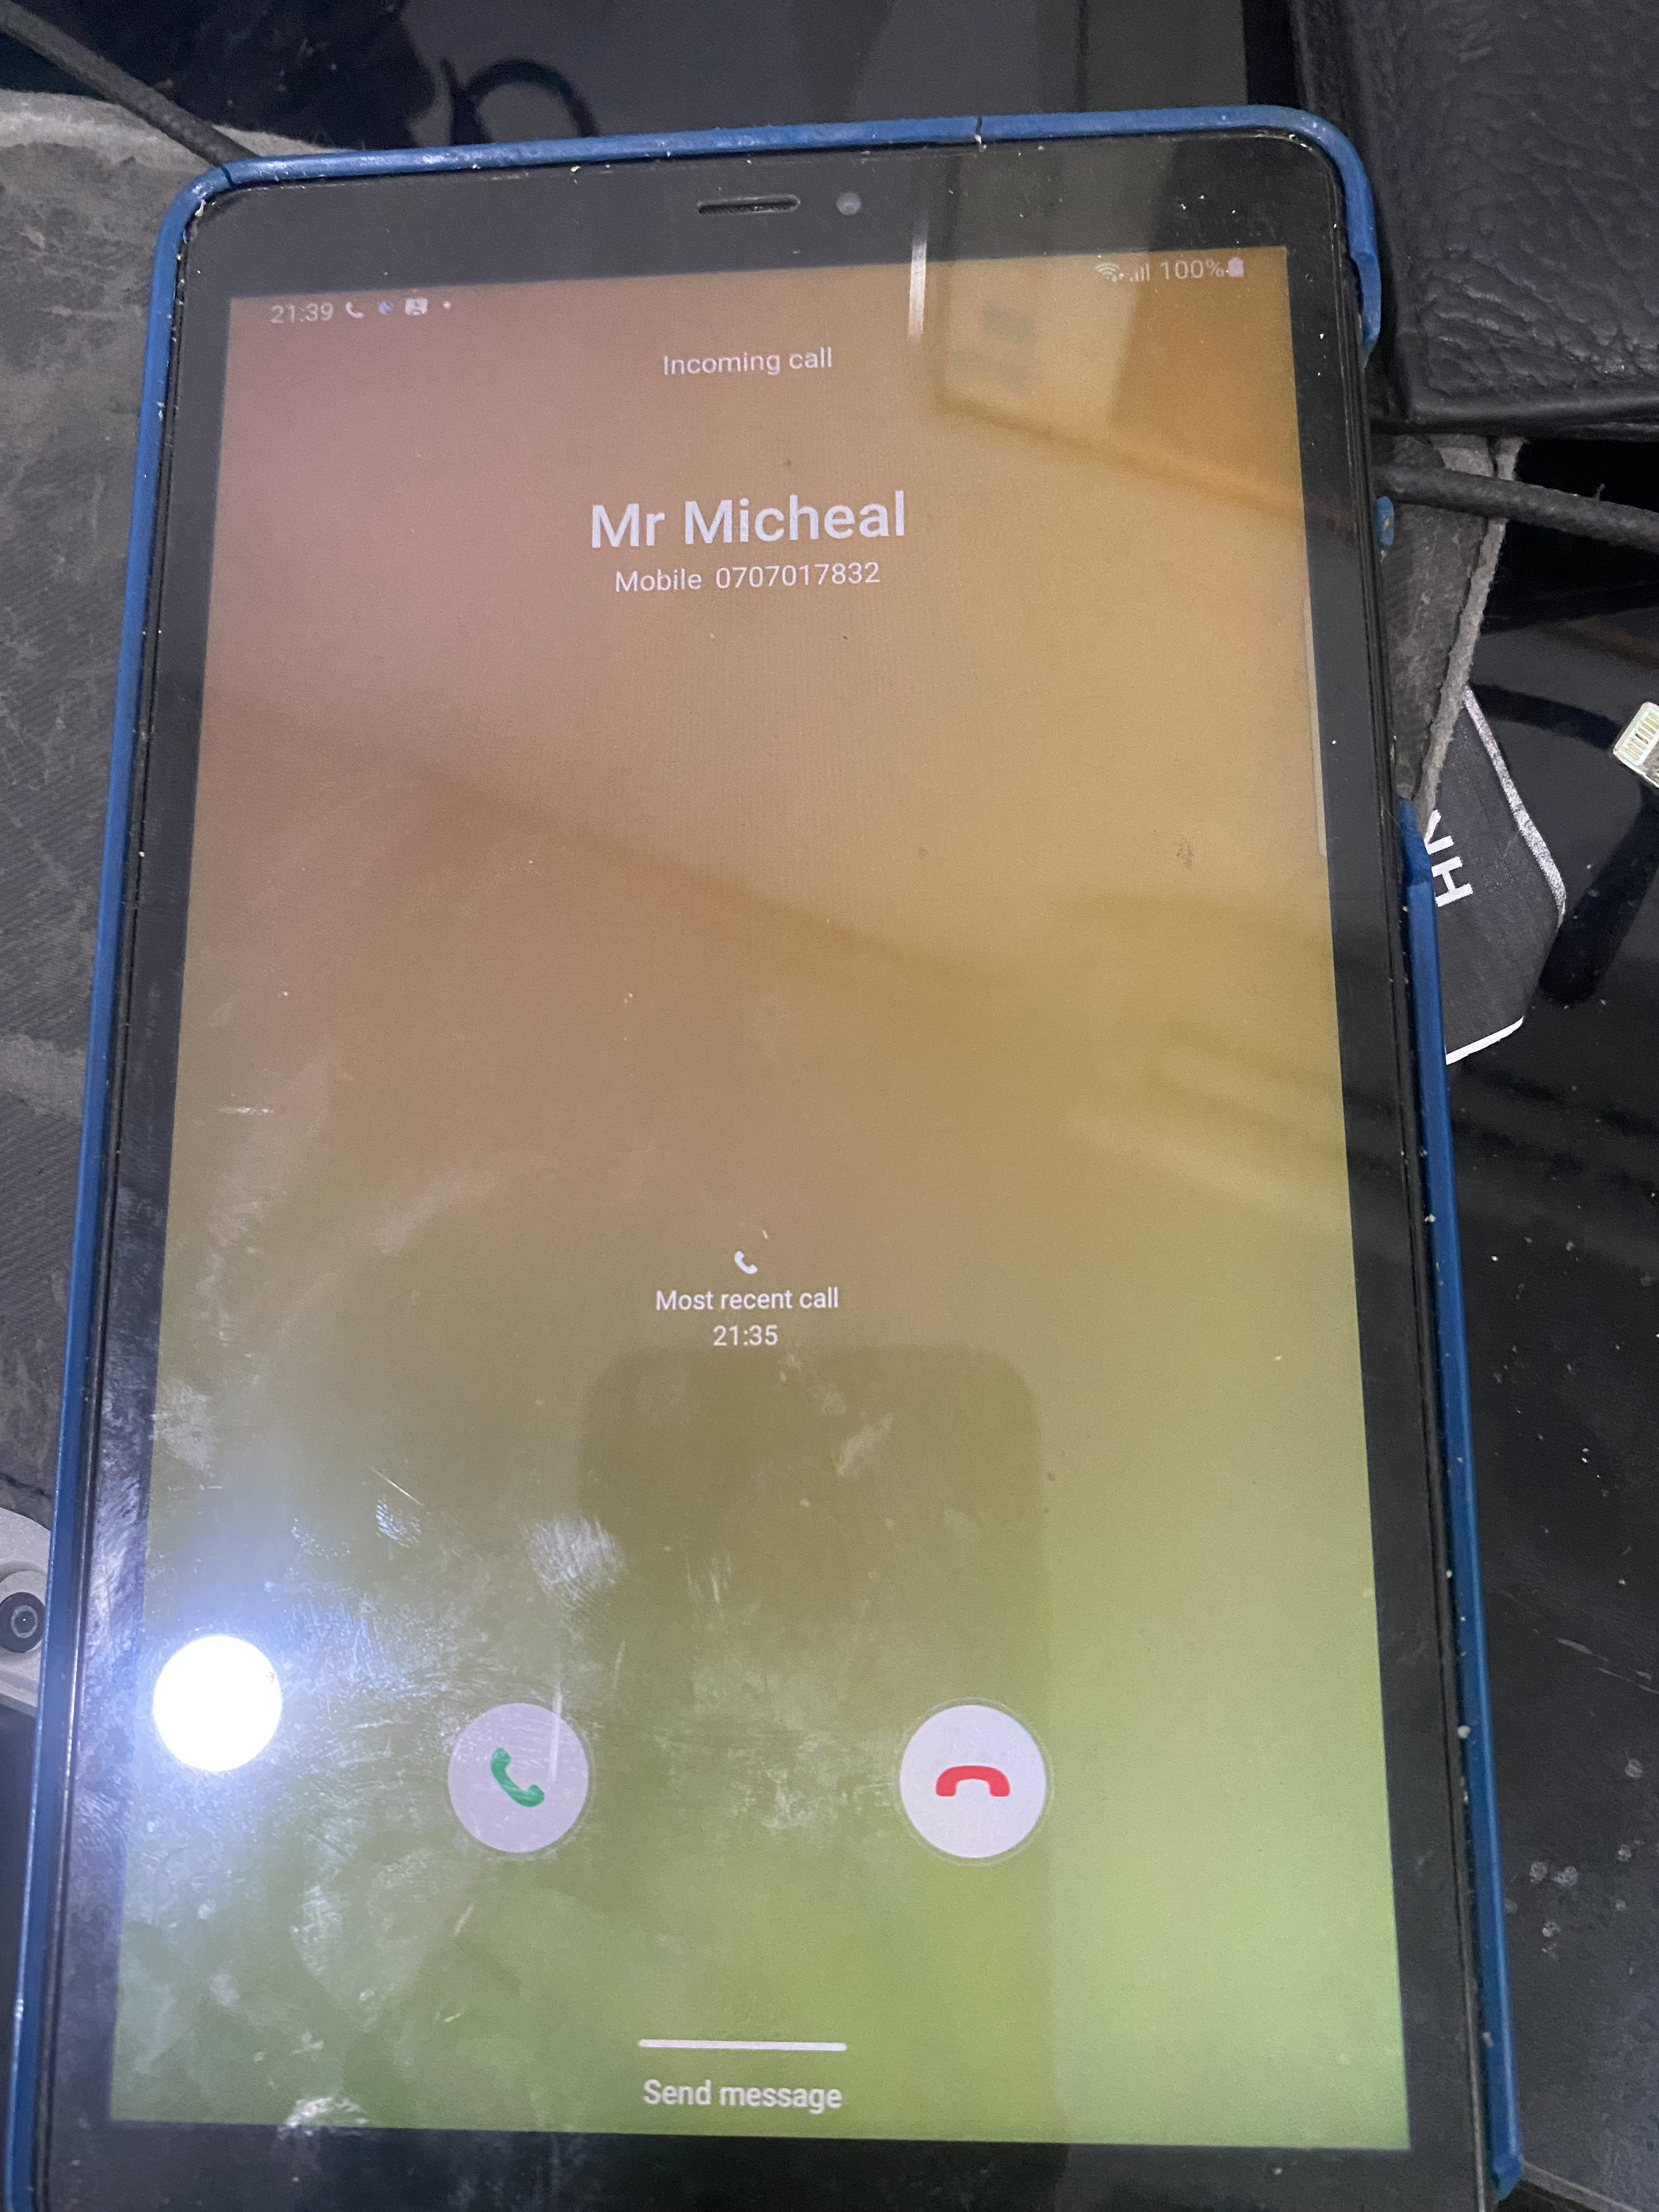
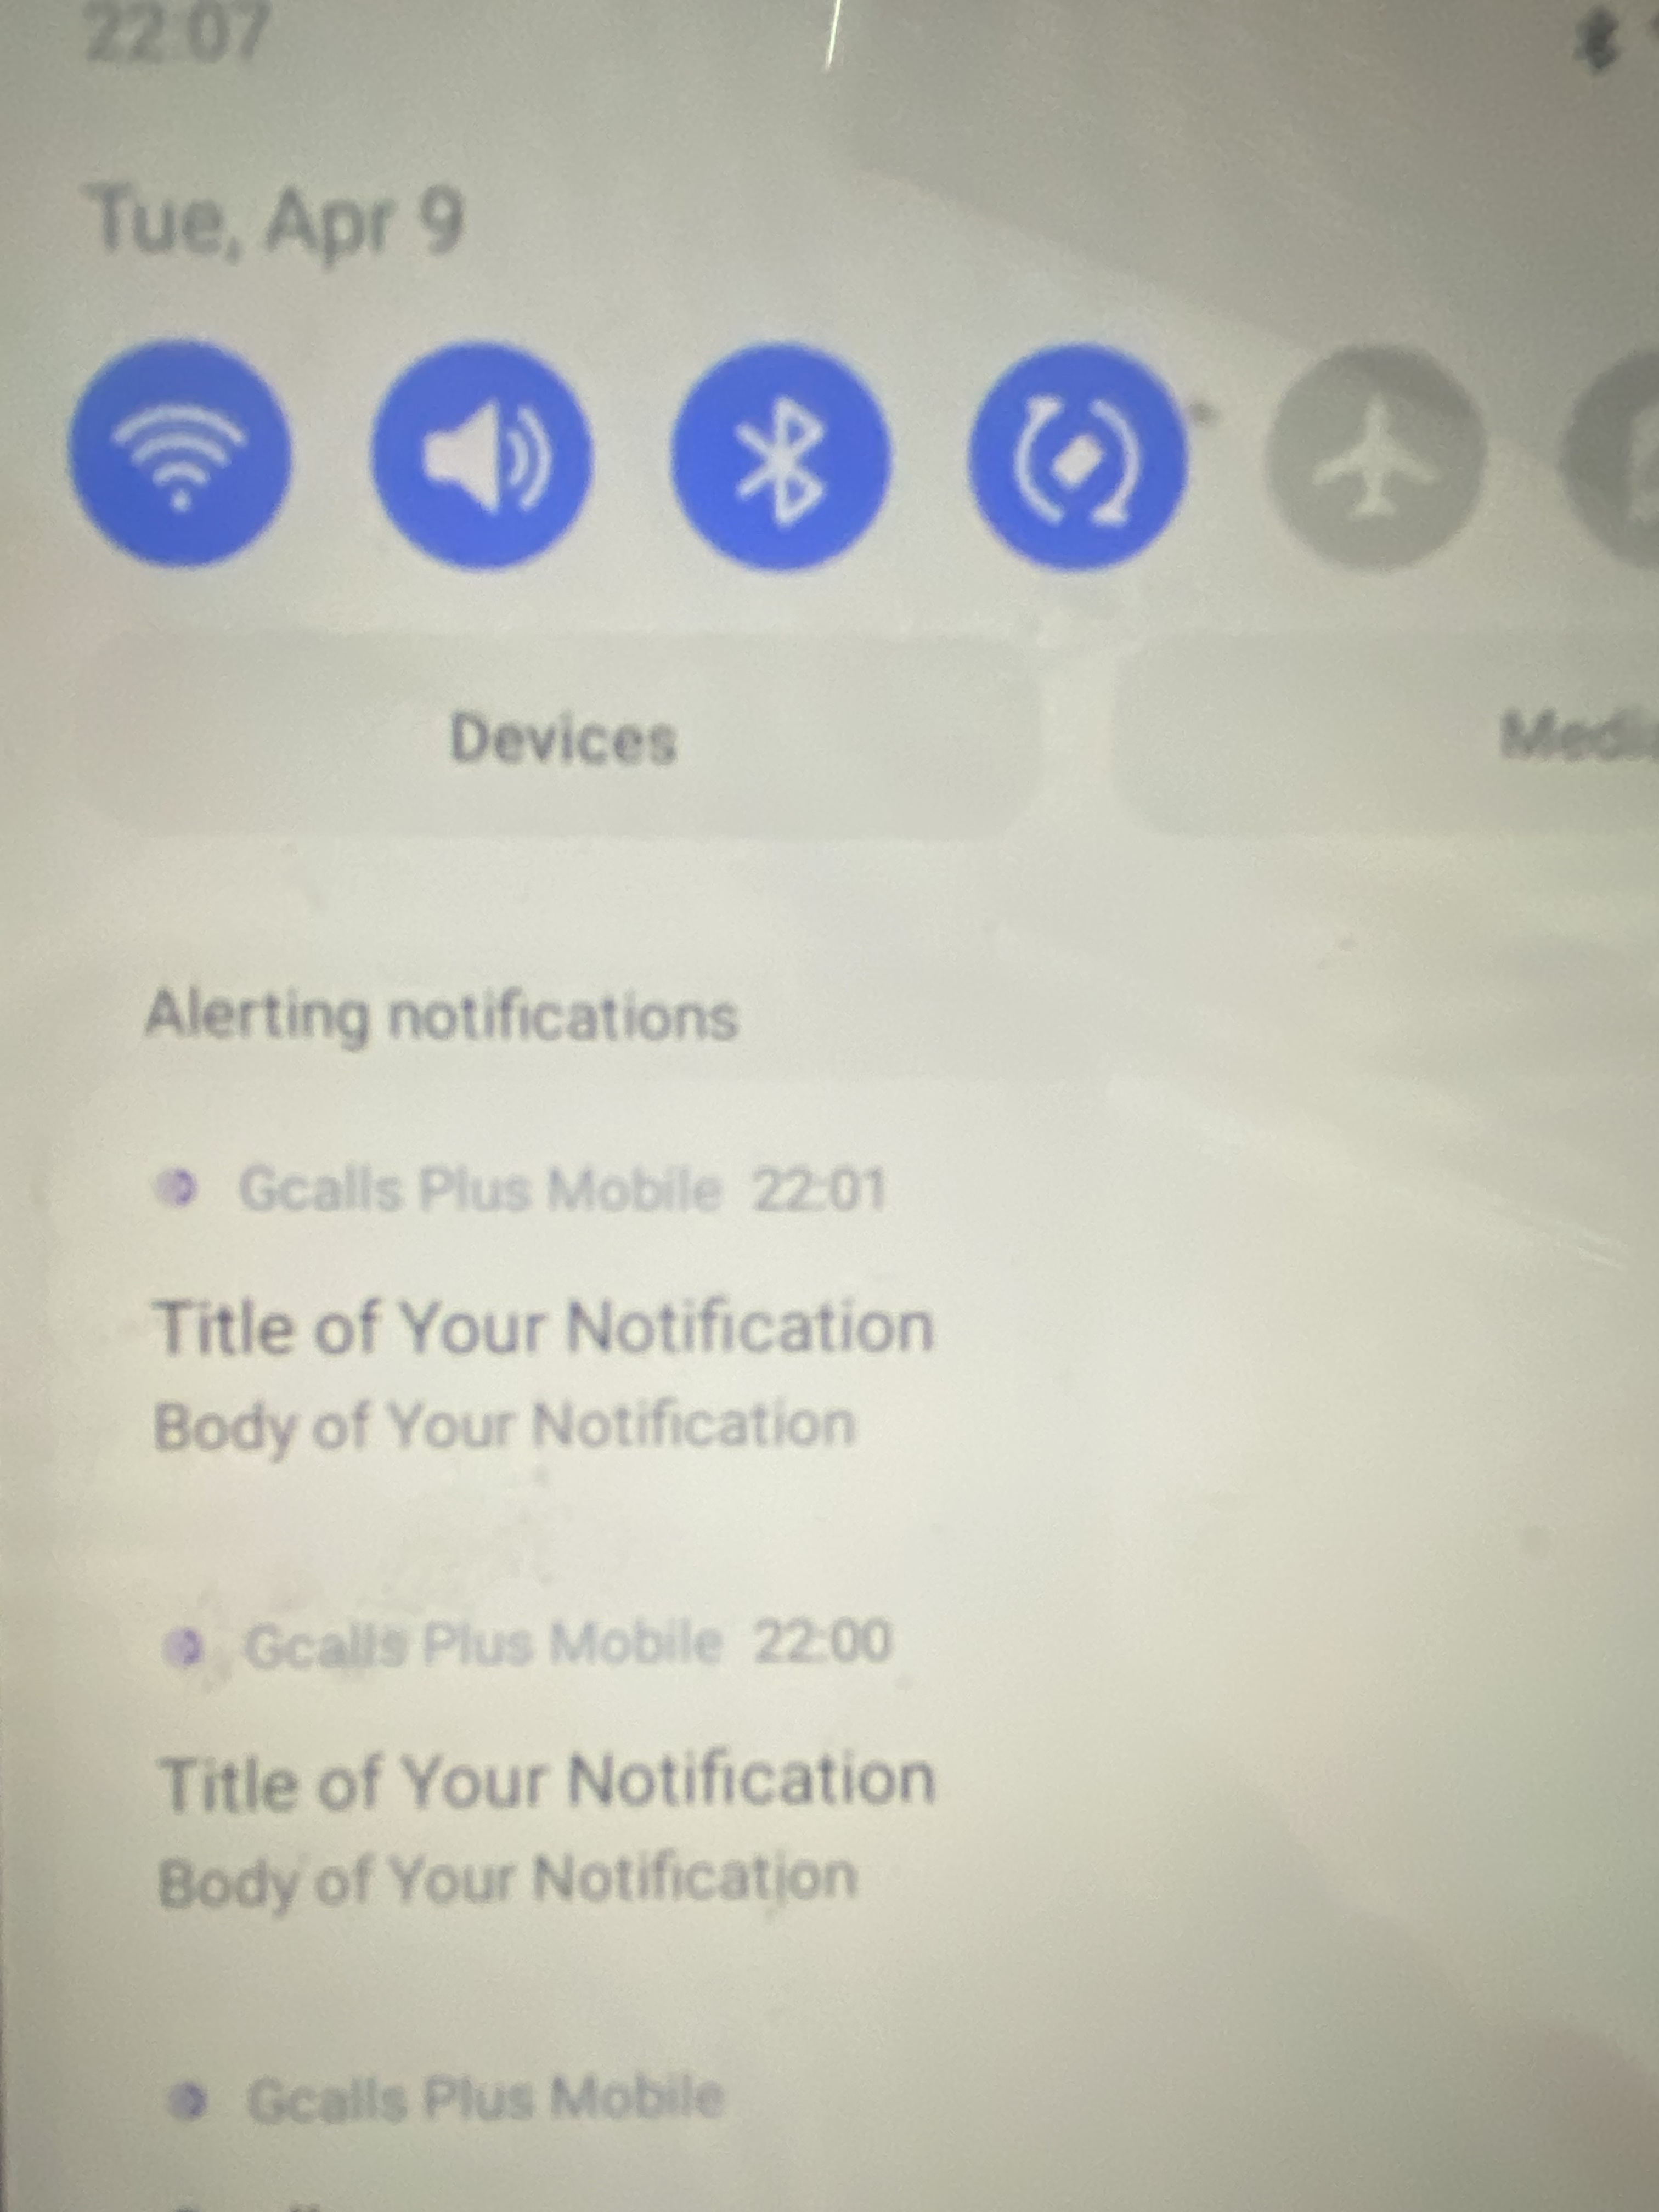
Bài viết hướng dẫn test Remote Pusnotification dùng Firebase FCM để hiển thị màn hình Incoming call, và cho Alert
3.1. Lưu ý:
- Cần device token ( từ thiết bị của user) và server key được lấy từ firebase
Chức năng call hiện tại đang dùng Callkeep ,cài đặt Callkeep theo doc để hiển thị màn hình incoming call
- https://github.com/react-native-webrtc/react-native-callkeep
3.2. Chuẩn bị môi trường Test
- Tham khảo source của Reactnative Project
- cài https://www.npmjs.com/package/react-native-push-notification để setup ReactNative Push notification cho Project
- cài https://github.com/react-native-webrtc/react-native-callkeep để setup ReactNative Callkeep cho Project
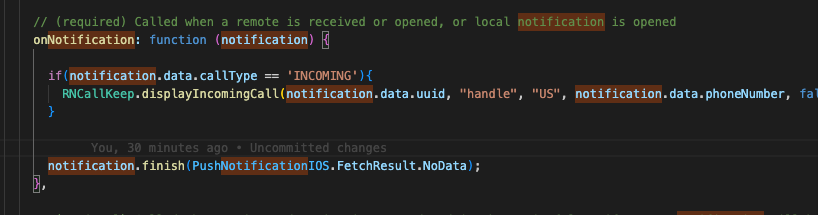
Bước 1: Tham khảo đoạn code sau khi đã set up xong react-native-push-notification và react-native-callkeep
- Calllog được post thông qua remote push notification, Callkeep sẽ bắt calllog ở notification và hiển thị màn hình incoming call
Bước 2: Setup server key và firebase
- Sau khi tạo 1 Android App trên Firebase, tải google-service.json .
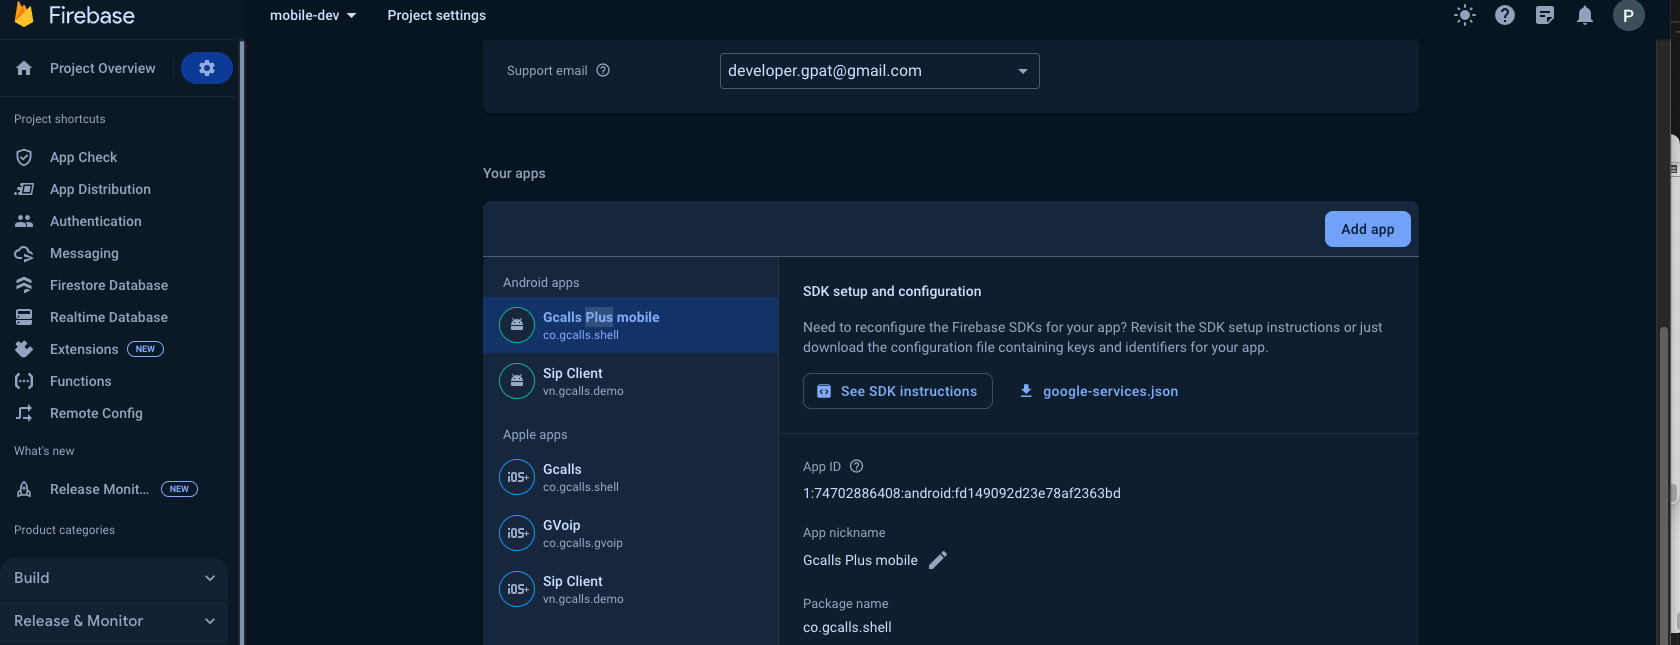
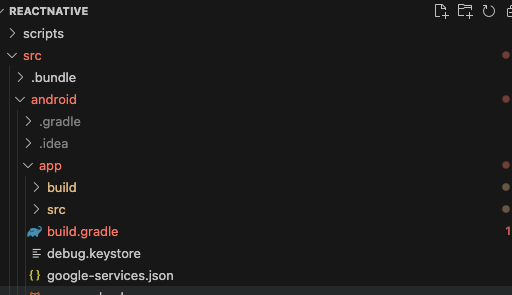
Bước 3: Copy google-service.json bỏ vào thư mục android/app của project
Bước 4: Add server key trên firebase
- Vào project setting -> Cloud Messaging bấm vào Add Server Key

Bước 5: Lấy device token
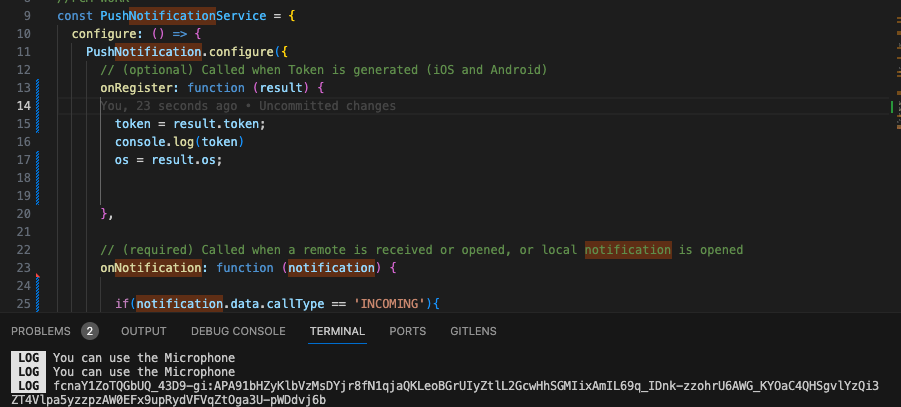
Device Token : fcnaY1ZoTQGbUQ_43D9-gi:APA91bHZyKlbVzMsDYjr8fN1qjaQKLeoBGrUIyZtlL2GcwHhSGMIixAmIL69q_IDnk-zzohrU6AWG_KYOaC4QHSgvlYzQi3ZT4Vlpa5yzzpzAW0EFx9upRydVFVqZtOga3U-pWDdvj6b
- Test curl dùng Device Token ( từ thiết bị của user ) và Server key ( từ firebase ) cho Incoming Call
curl --location 'https://fcm.googleapis.com/fcm/send' \
--header 'Content-Type: application/json' \
--header 'Authorization: key=${server_key}' \
--data '{
    "registration_ids": [${device_token}],
    "data":{
        "uuid": "call_id",
        "nameCaller": "Minh Nong",
        "avatar": "Minh Nong",
        "phoneNumber": "0707017832",
        "appName": "Gcalls",
        "callType": "INCOMING"
    },
    "content_available": true,
    "priority": "high"
}'
- Test curl dùng Device Token ( từ thiết bị của user ) và Server key ( từ firebase ) cho Alert
minhnong@Minhs-Mac-mini android % curl --location 'https://fcm.googleapis.com/fcm/send' \
--header 'Content-Type: application/json' \
--header 'Authorization: key=server_key' \
--data '{
    "registration_ids": ["device_key"],
       "notification": {
       "title": "Title of Your Notification",
       "body": "Body of Your Notification"
    },
    "content_available": true,
    "priority": "high"
}'

{"multicast_id":1264080493976062247,"success":1,"failure":0,"canonical_ids":0,"results":[{"message_id":"0:1712674881790984%3f9ce0523f9ce052"}]}%
4. Kết Luận
Chúng ta có thể sử dụng Push notification thông qua SDK (Nodejs) hoặc API. Bài viết này tập trung hướng dẫn remote push notification thông qua API
1 Số lợi ích Api mang lại : Nếu sử dụng Cloud Worker như Cloudflare hoặc 1 số worker không cho phếp cài SDK của nodejs chúng ta có thể dùng API ở worker ( Serverless ) , đỡ tốn thời gian cài sdk và sử dụng được ở Nodejs Server hoặc Cloud Worker .
Idea cho incoming call: PBX -> setting Webhook cho incoming call từ PBX -> Cloudflare Worker API ( get device token từ Cloudflare KV ) / Nodejs Server -> Trigger Voip Push notification API
Tài liệu này hướng dẫn cách cài đặt iOS Push notification, nếu có góp ý xin vui lòng điền vào form bên dưới.