
Hướng dẫn cài đặt CouchDB
I. Điều kiện tiên quyết
- Có quyền truy cập vào https://gitlab.com/gcalls-single-node/devops-prod/-/tree/release
- Có quyền truy cập vào https://gitlab.com/gcalls-opensource/gcalls-community-version
- Hướng dẫn này được viết cho hệ điều hành Ubuntu.
- Cronjob (Tùy chọn)
II. Đối tượng đọc
- Customer Success Engineer
Có liên quan tới:
- Database
III. CouchDB
1. Cài đặt
1.1 Cài bằng apt
sudo apt update && sudo apt install -y curl apt-transport-https gnupg
curl https://couchdb.apache.org/repo/keys.asc | gpg --dearmor | sudo tee /usr/share/keyrings/couchdb-archive-keyring.gpg >/dev/null 2>&1
source /etc/os-release
echo "deb [signed-by=/usr/share/keyrings/couchdb-archive-keyring.gpg] https://apache.jfrog.io/artifactory/couchdb-deb/ ${VERSION_CODENAME} main" \
    | sudo tee /etc/apt/sources.list.d/couchdb.list >/dev/null
1.2 Cài bằng docker
git clone https://gitlab.com/gcalls/publics/gcallsdb
- truy cập folder và chuyển sang branch
release
cd gcallsdb/couchdb
git fetch
- Khởi tạo docker cho CouchDB
docker-compose -f dc-couchdb.yml up -d
2. IBM Cloudant (CouchDB Cloud)
a. Cấu hình:
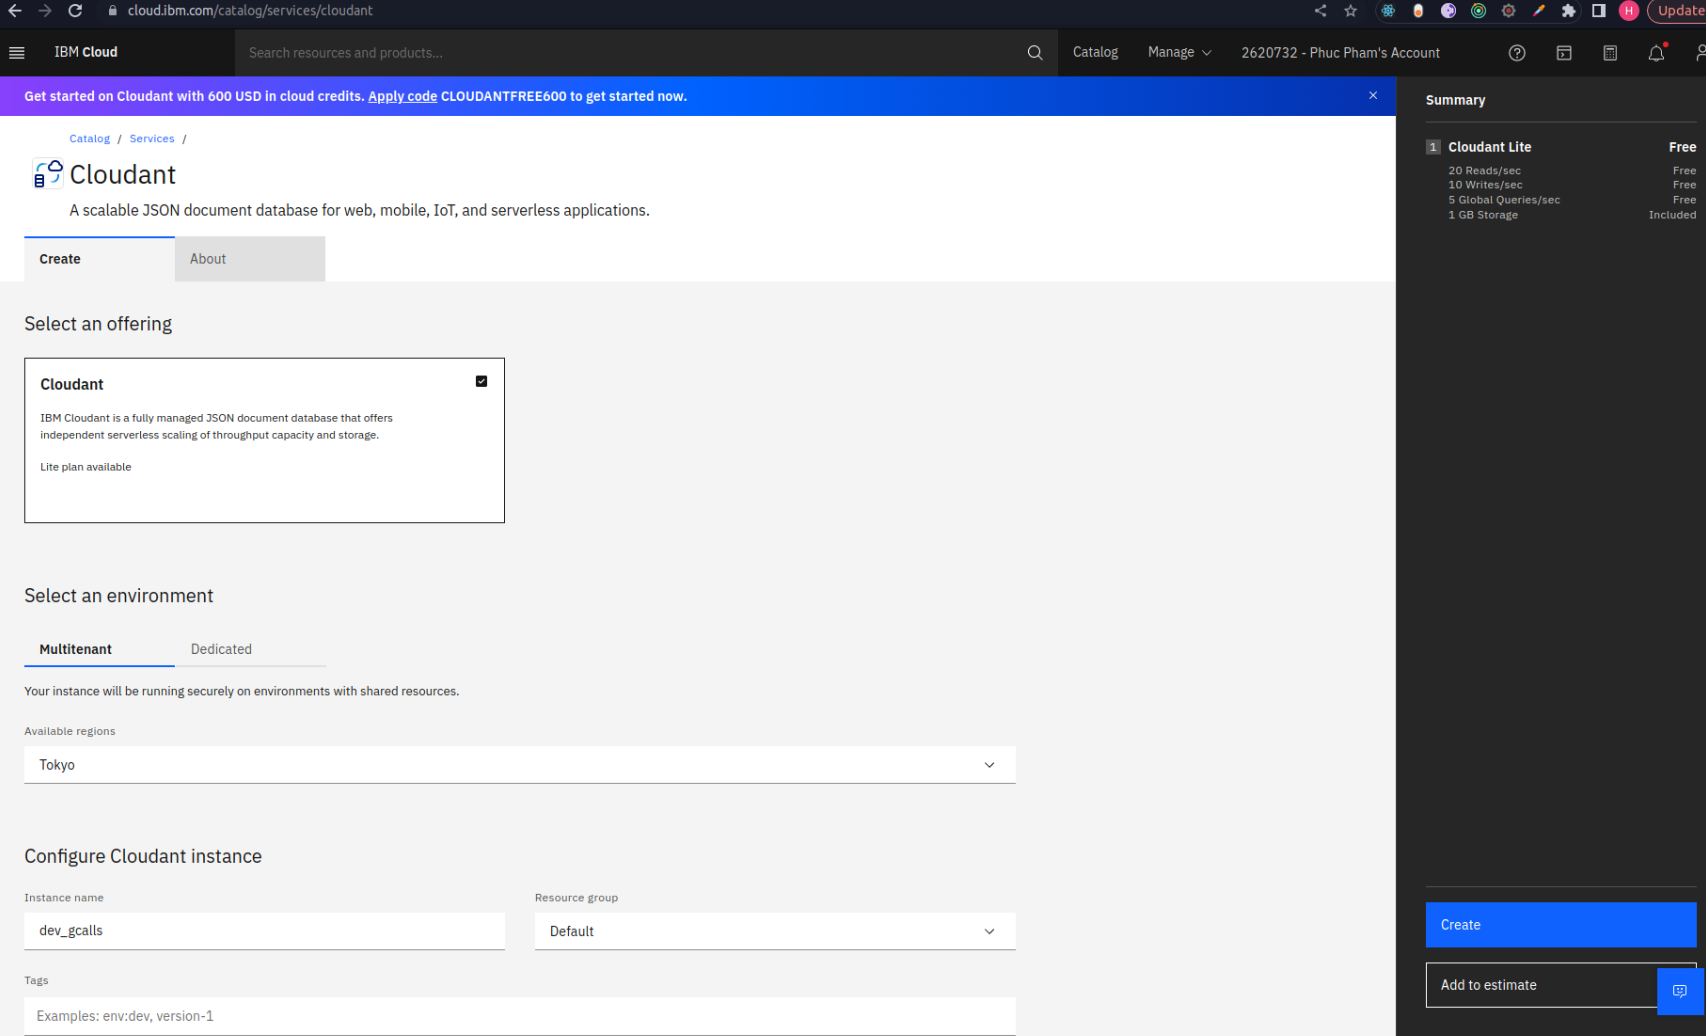
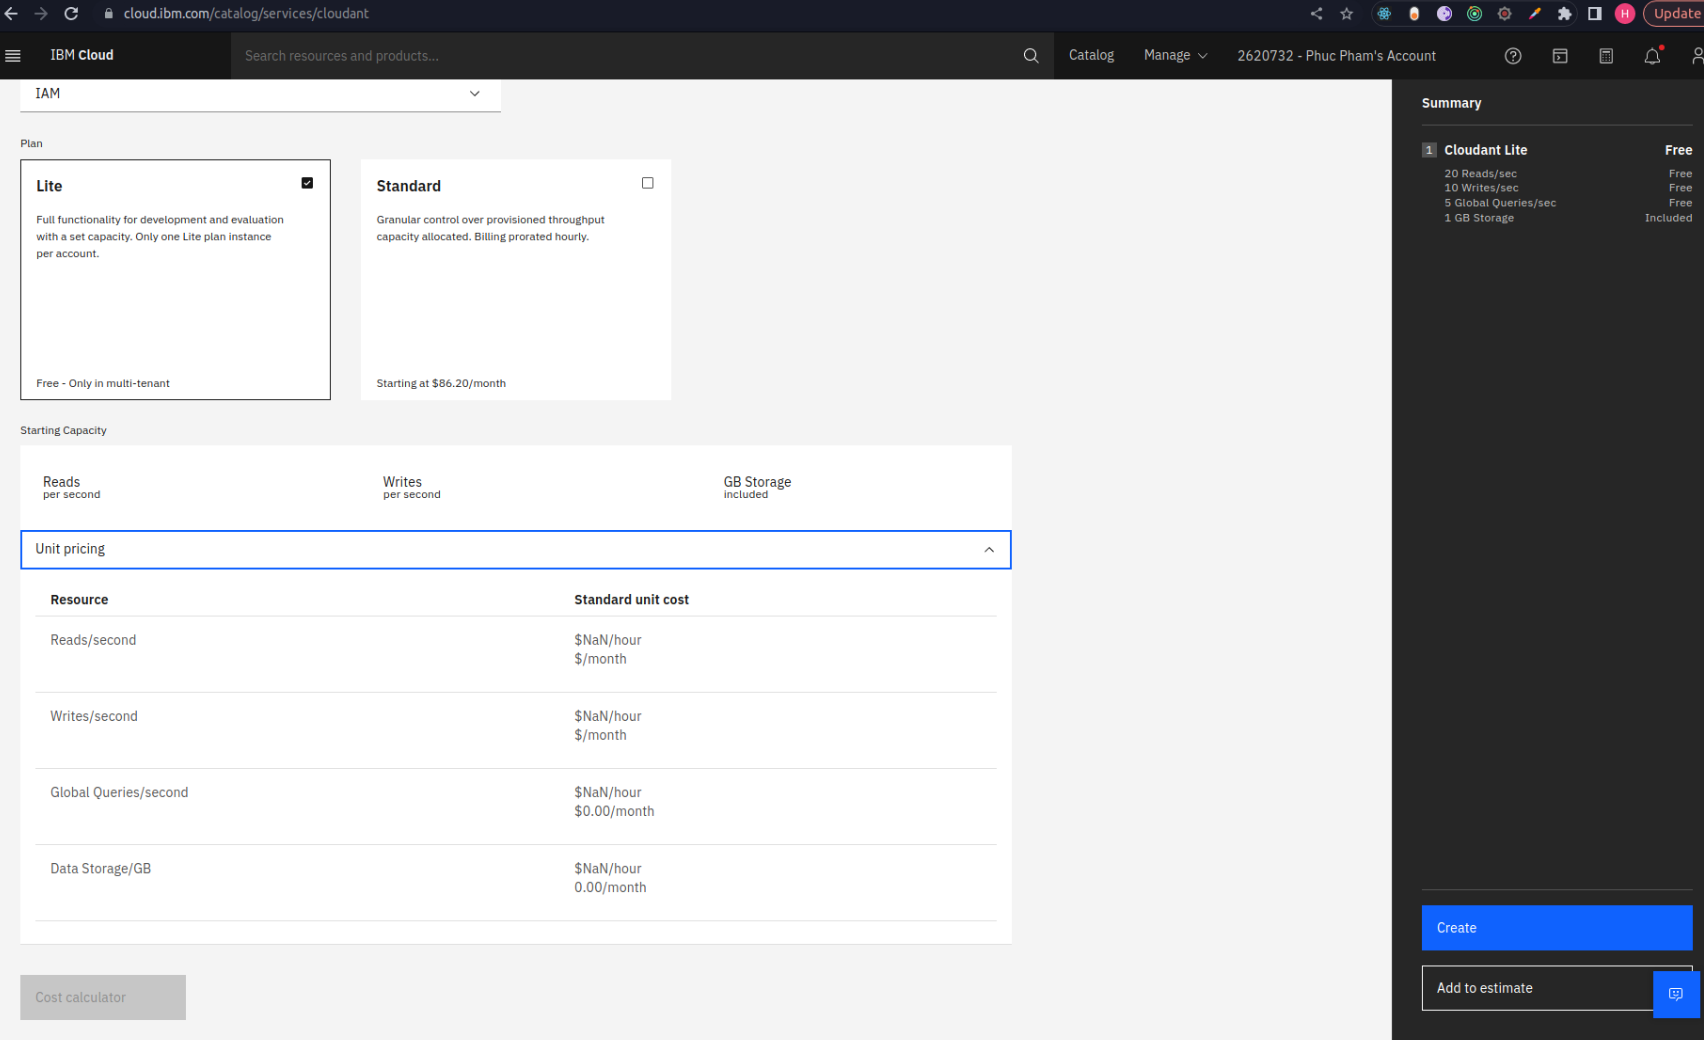
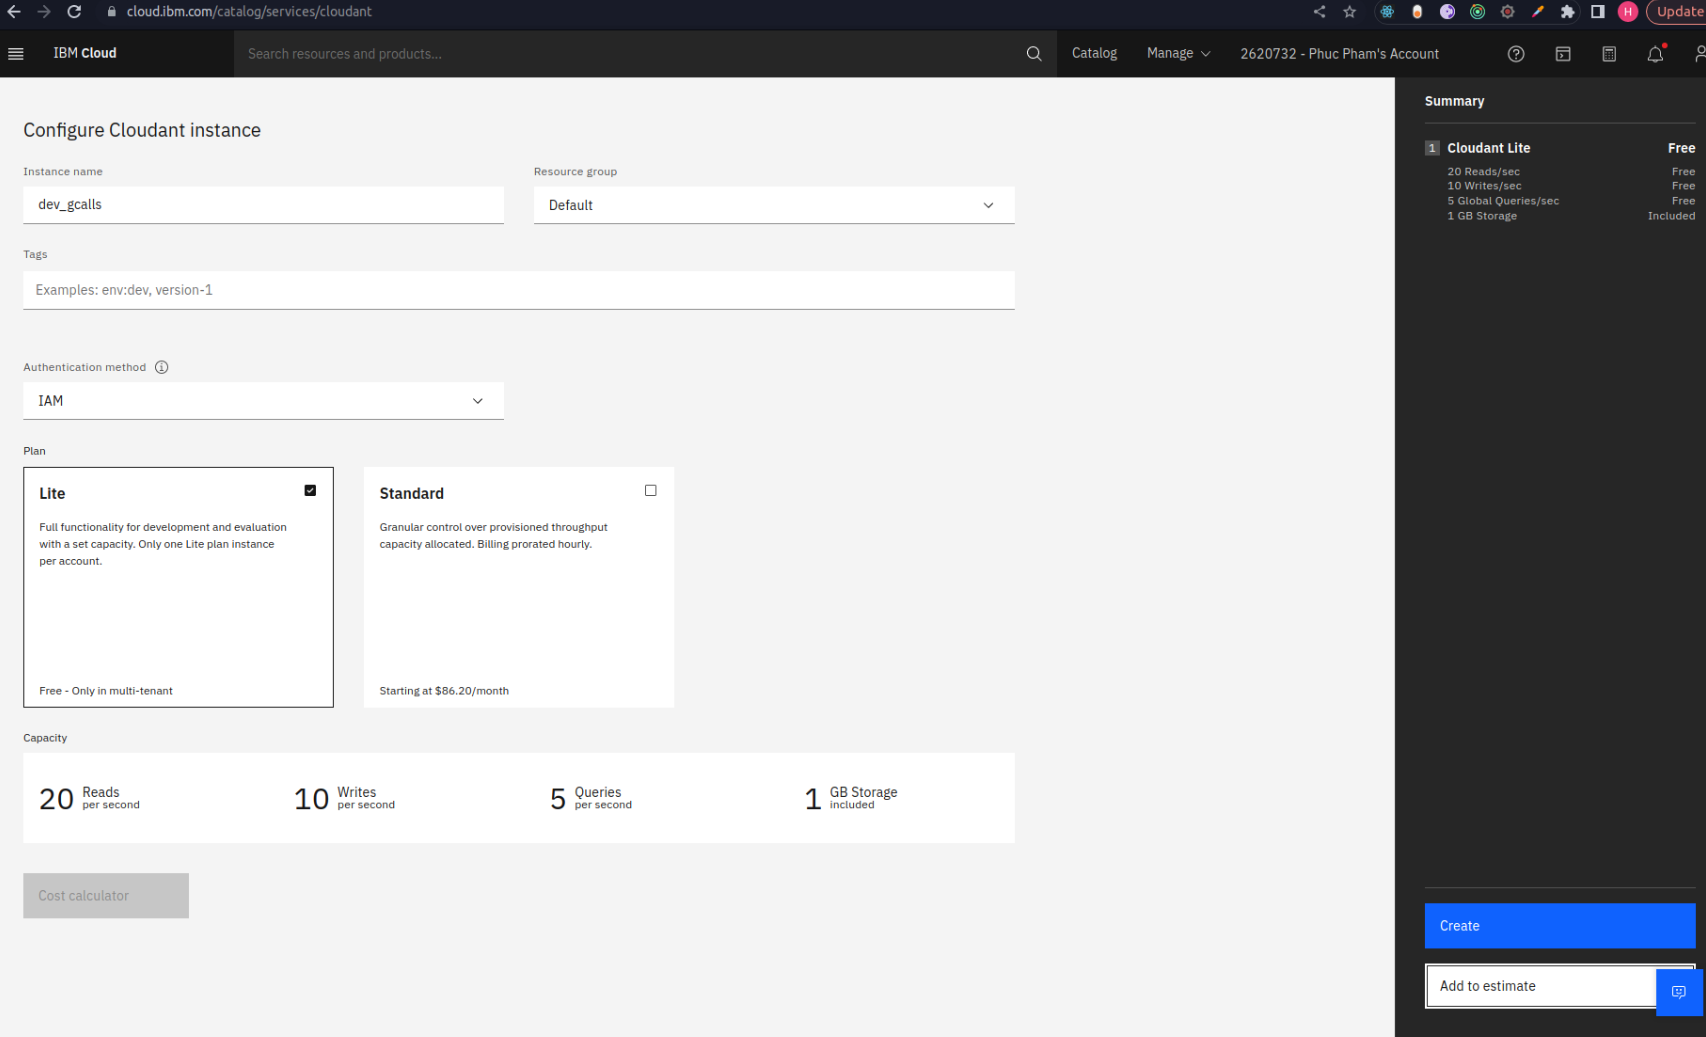
- Truy cập https://cloud.ibm.com/
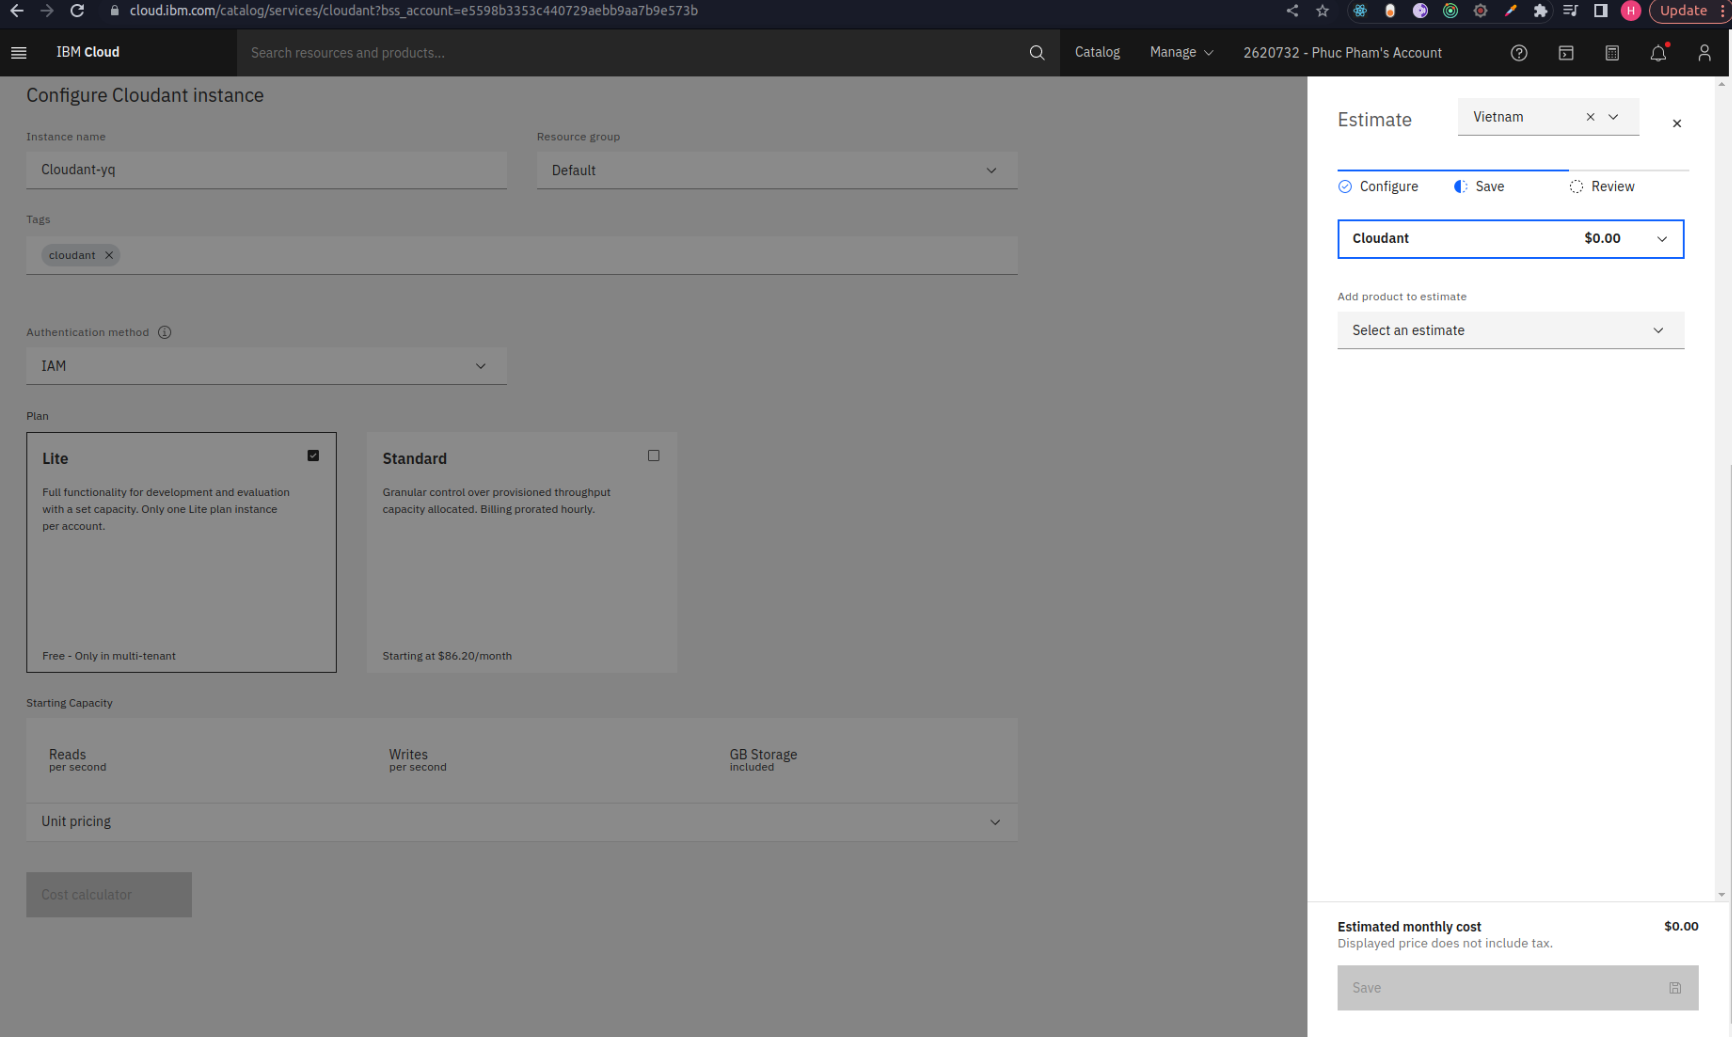
- Đăng ký gói dịch vụ free tier Cloudant và chọn cấu hình như các hình sau:
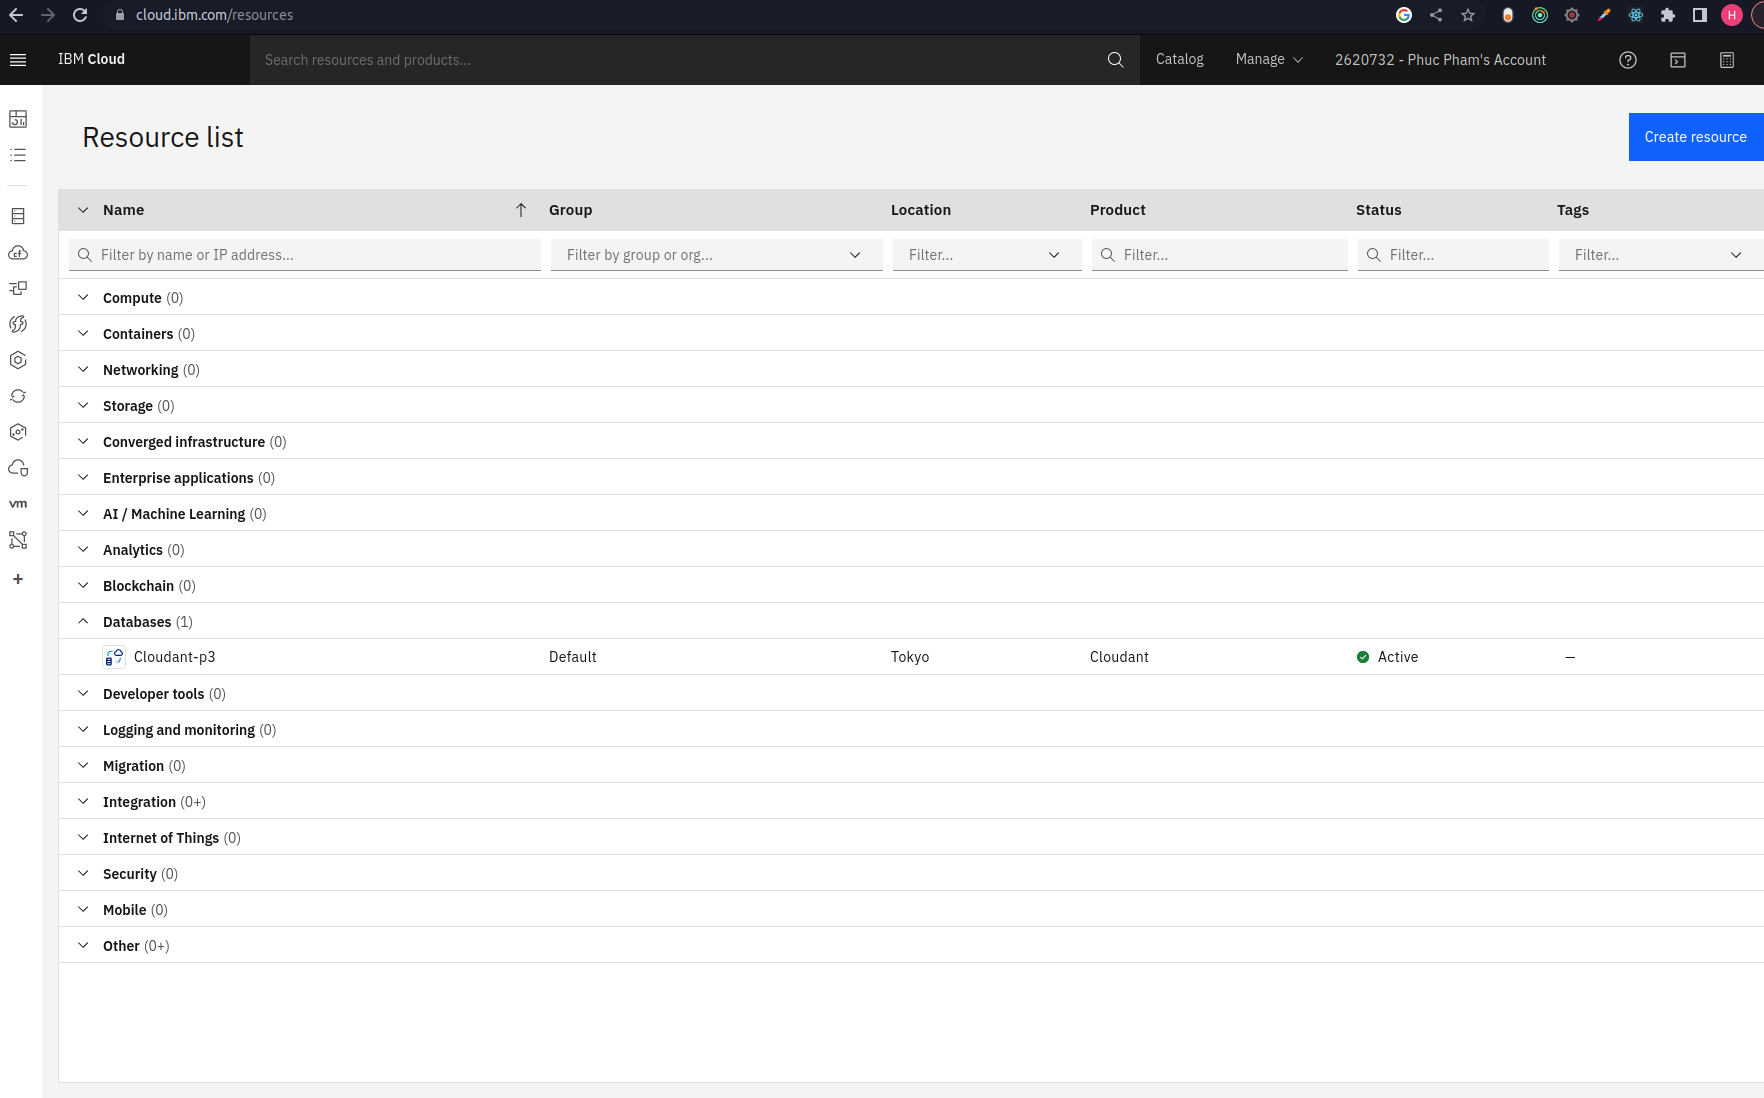
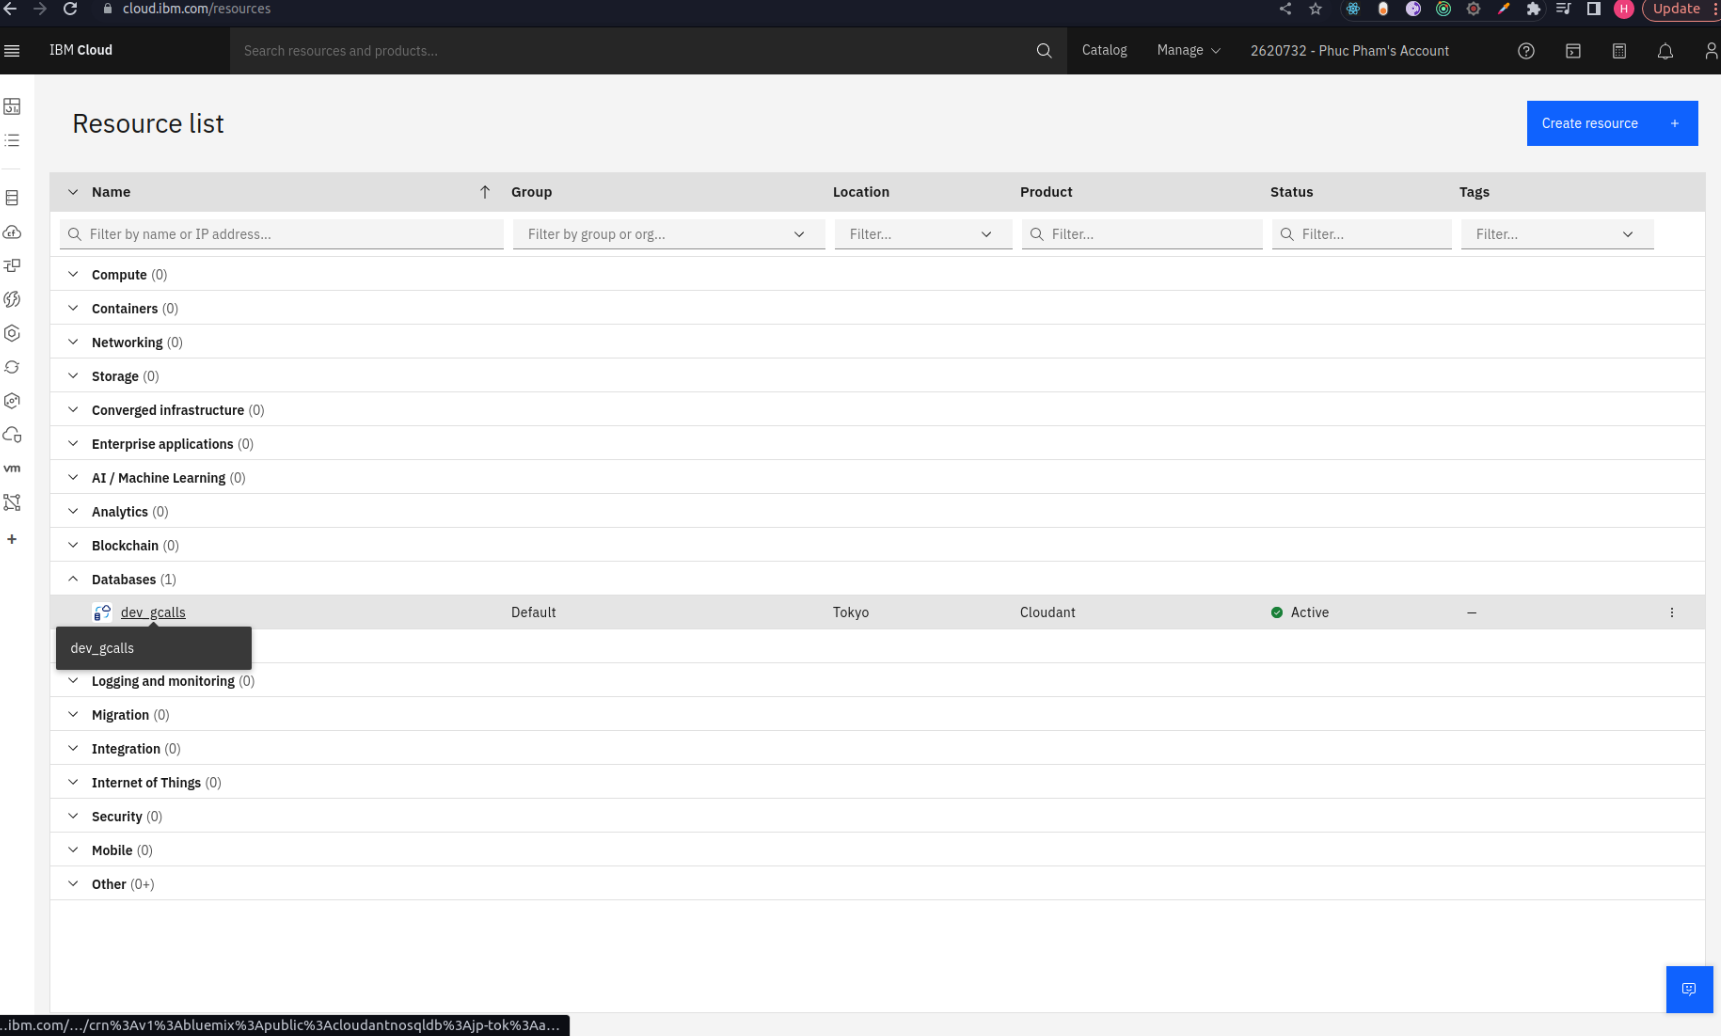
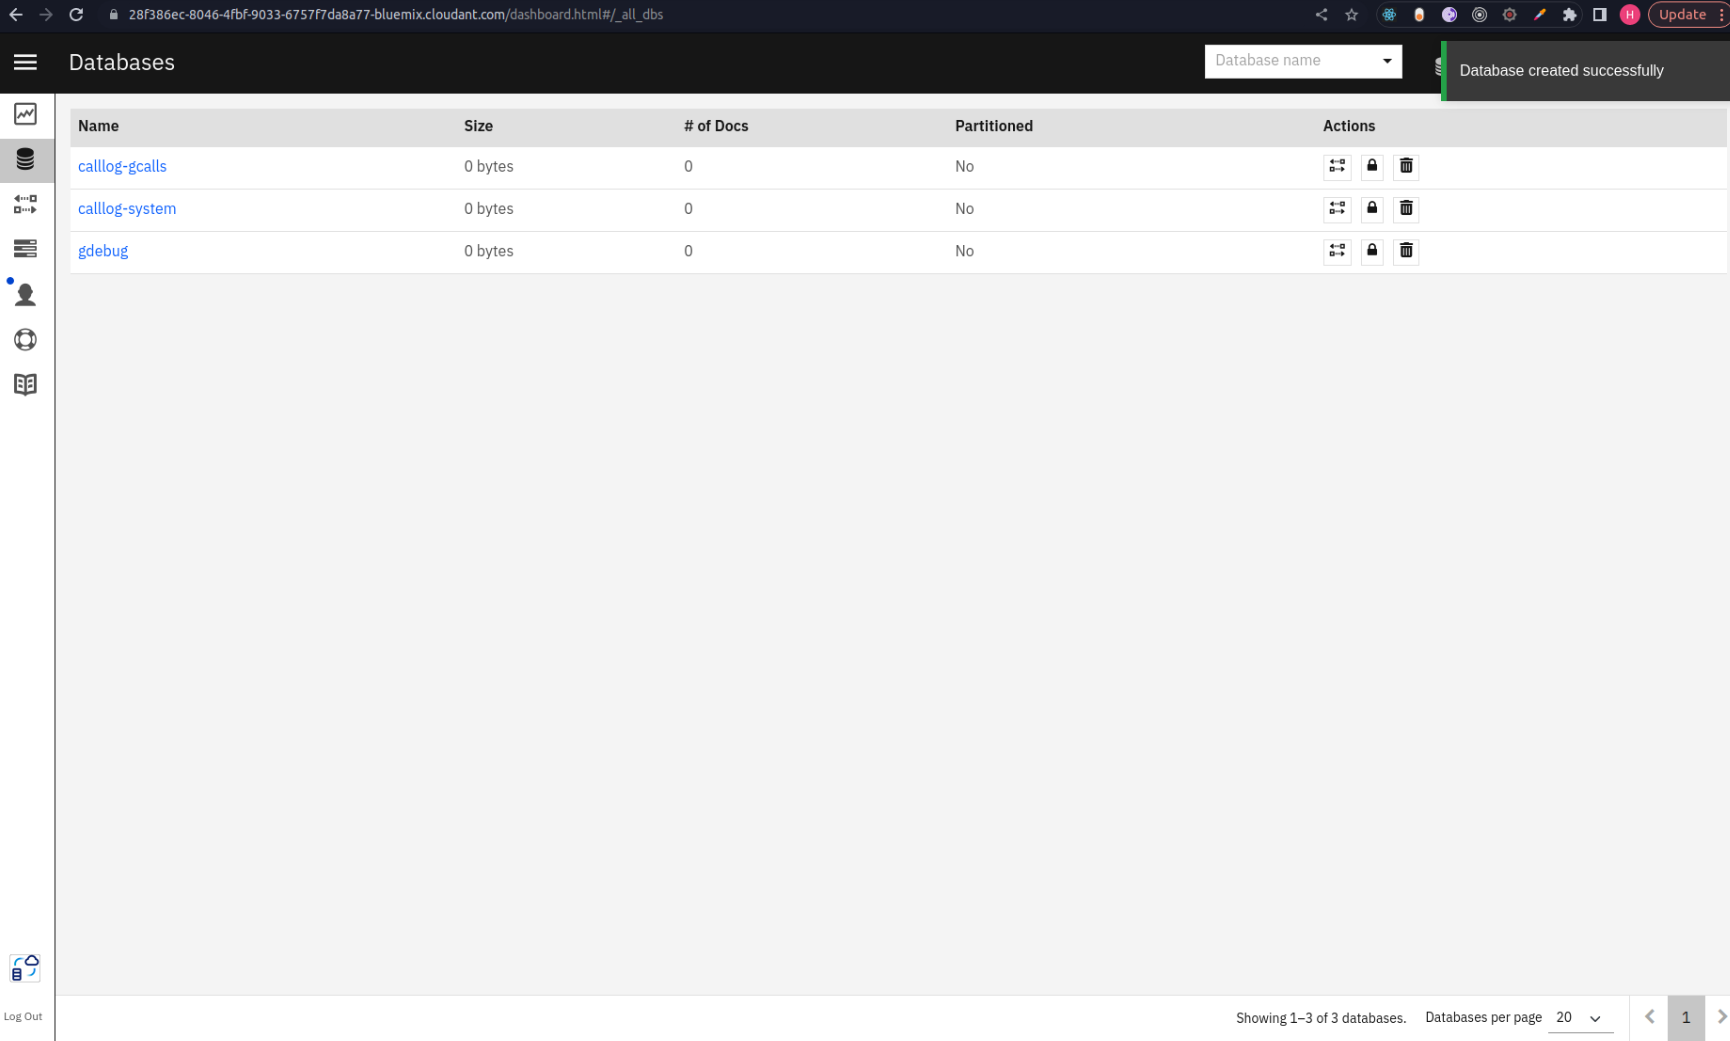
- Sau khi khởi tạo database thì truy cập resource list, sẽ thấy db vừa tạo trong danh sách như bên dưới
- Bấm vào database, Chọn Service credentials, tạo 1 cái. Cloudant sẽ tạo 1 service credential chứa thông tin tài khoản và api CouchDB:
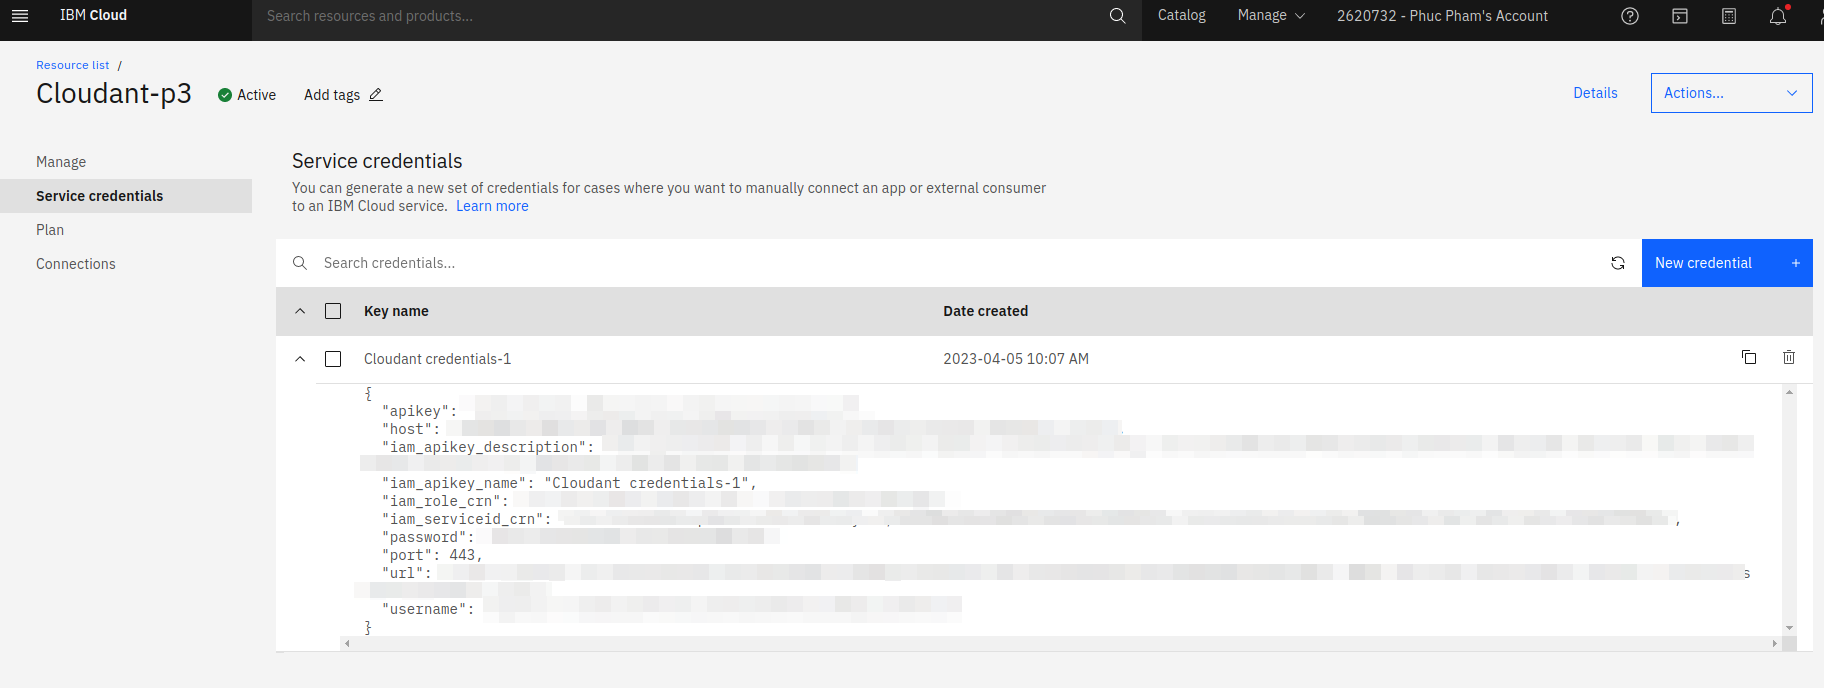
- Truy cập đường dẫn với tài khoản và mật khẩu được cấp trong service credential
b. Kết nối
- Tương tự CouchDB ở local. Connection string của IBM Cloudant cũng theo format tương tự
https://<username>:<password>@<host>
V Kết Luận
- Và đó là các bước để cài đặt CouchDB, backup, restore và viết cronjob.
- Nếu thấy bài viết có vấn đề, vui lòng gửi feedback ở form bên dưới: